At the time of the Declaration of Independence in 1776, there was not an established flag representing the new nation. On June 14, 1777, the Continental Congress officially adopted the first version of the red, white, and blue starred and striped flag. This first “American flag” featured thirteen white stars (representing the 13 American colonies) laid in a circle on a blue background. surrounded by thirteen red and white stripes. The flag been modified officially 26 times since 1777. Drawing inspiration from the American Flag, many other states, territories, and countries have adopted the use of red, white, and blue colors in their flags. These include Puerto Rico and Cuba (who also use stars in their flags) as well as the flags of the Dominican Republic and Haiti. If you walk around the Mansion’s neighborhood of Washington Heights today, you will see many flags from these and other Caribbean and Central American nations because people are proud of their family’s heritage and strong connections to these places.
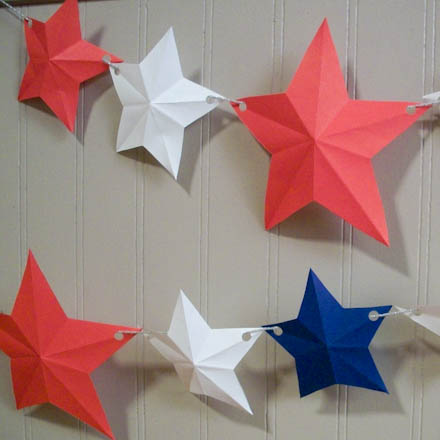
In this activity, you will be creating five-pointed paper stars. You can make the stars using any colors you want to form a banner to decorate your home for any occasion!
Suggested Grade/Age level:
Grade 3 and up.
Curriculum Connections:
Visual Arts: Cr1.1.4 a. Brainstorm multiple artmaking approaches to a creative art or design problem.
VA: Cn11.1.4 a. Connect visual characteristics of works of art and design to beliefs and traditions in a culture.
Social Studies: 2.2a People living in urban, suburban, and rural communities embrace traditions and celebrate holidays that reflect both diverse cultures and a common community identity.
Materials Needed:
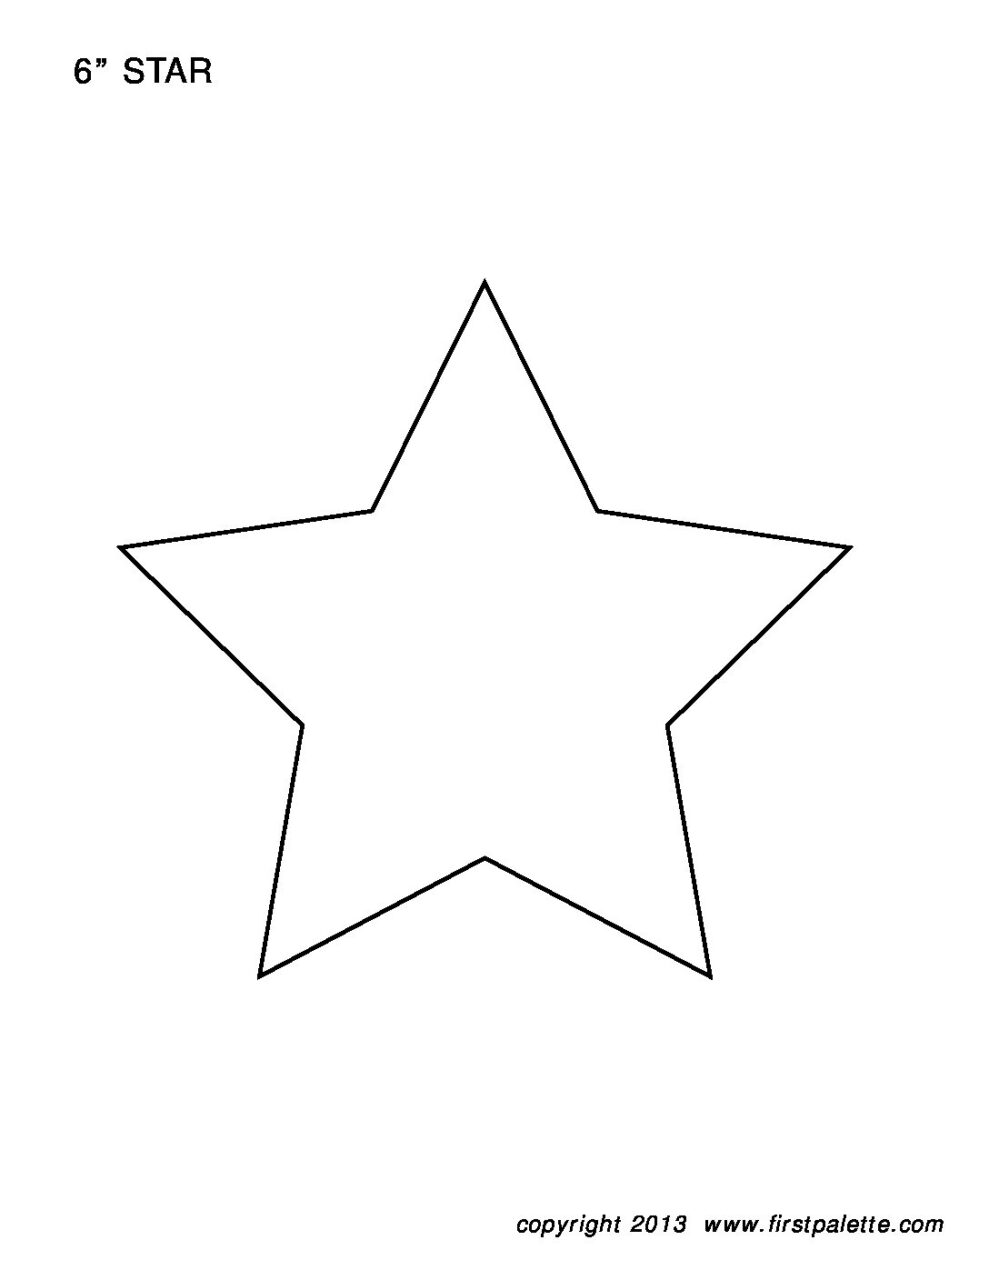
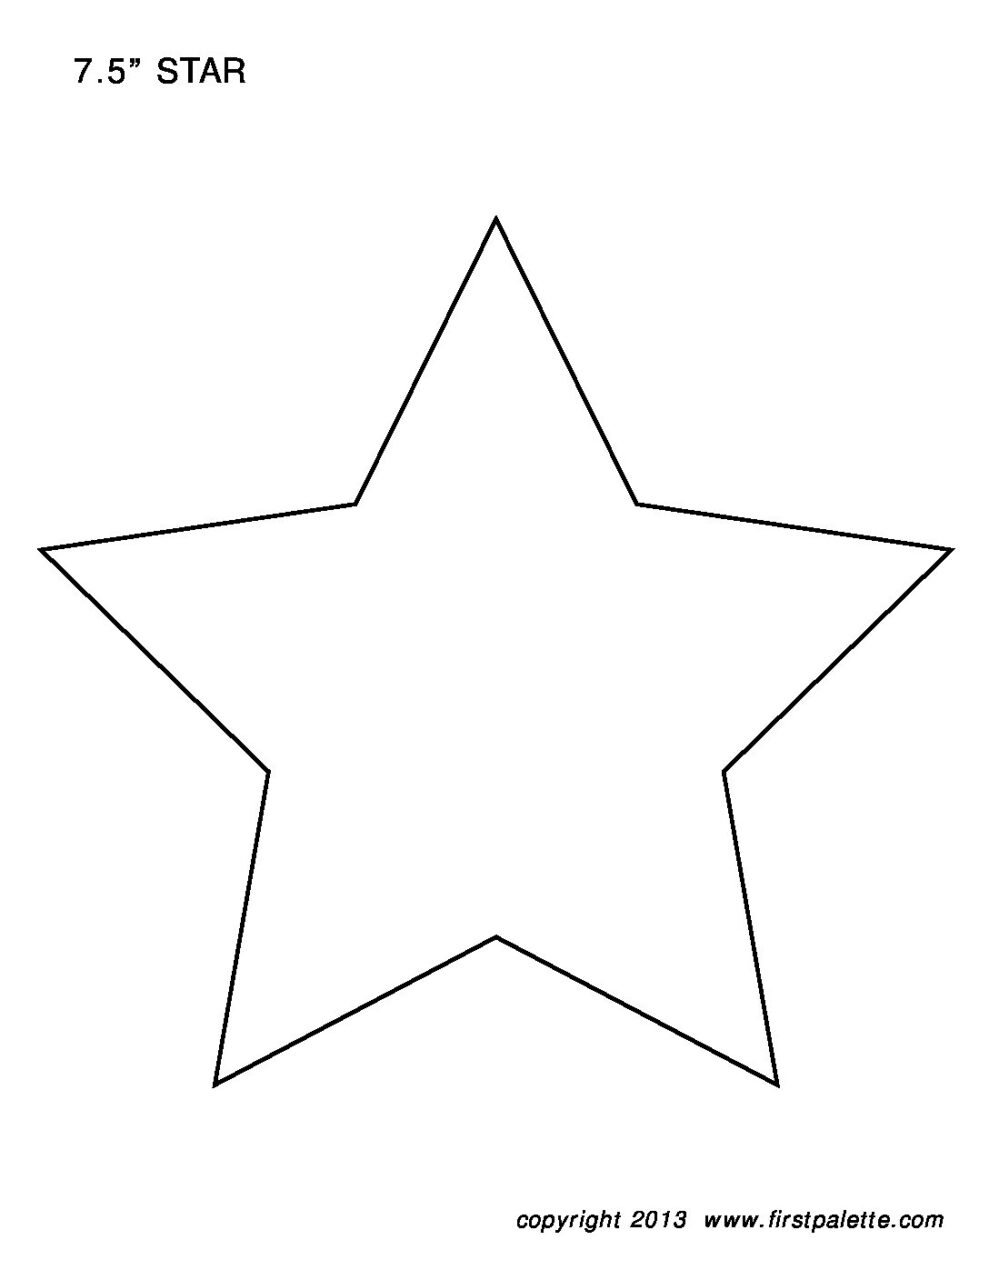
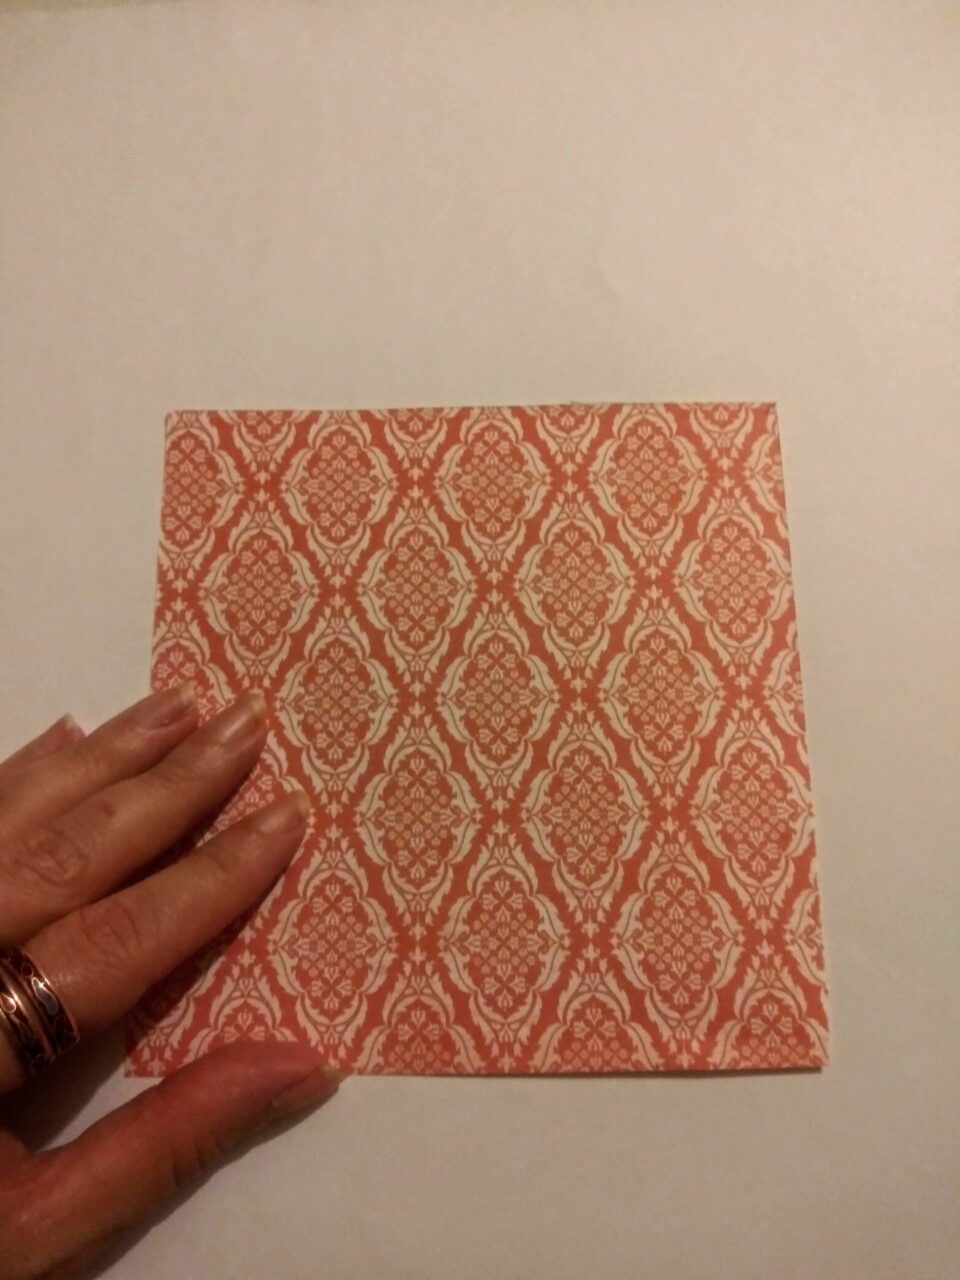
- Square pieces of paper. The paper can be different sizes and types, as long as it’s square-shaped and easy to fold! 6” x 6” squares are a good size to work with and produce big stars.* (Paper types: regular unlined paper, newspaper, wrapping paper, Origami paper, cut up grocery store bags, etc.)
- Twine or string for hanging stars together
- Hole punch or a strong pen to make holes in the stars so you can string them together
- Safety scissors
Additional Materials:
Optional materials: paint, markers, or other items to decorate your paper stars.
*You may want to use a ruler to make a square template to ensure that all of your stars are the same size and shape.
Activity Instructions:
Part 1: Make A Five-Pointed Star
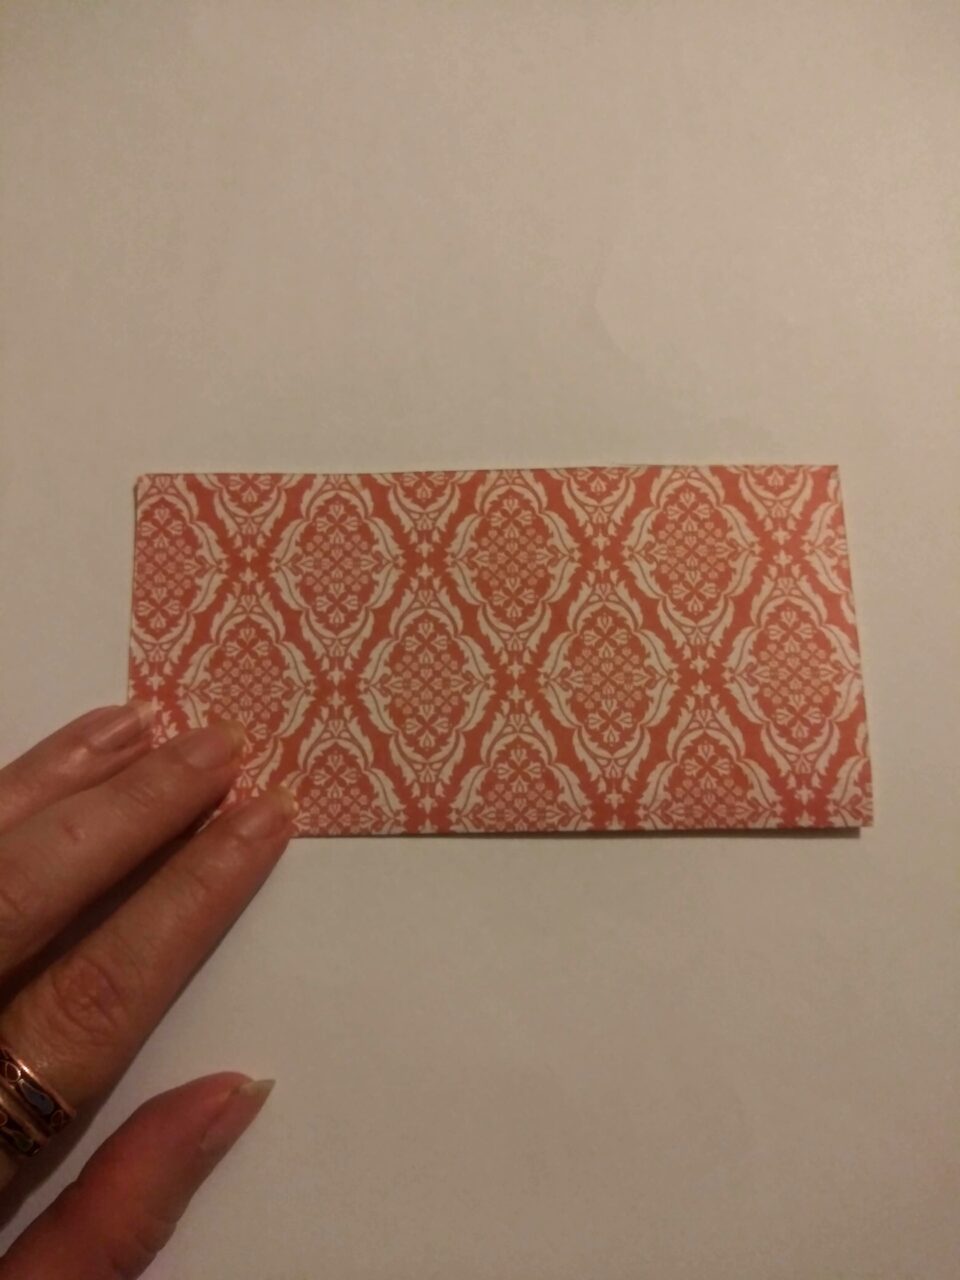
- Place one piece of square-sized paper down on your table.
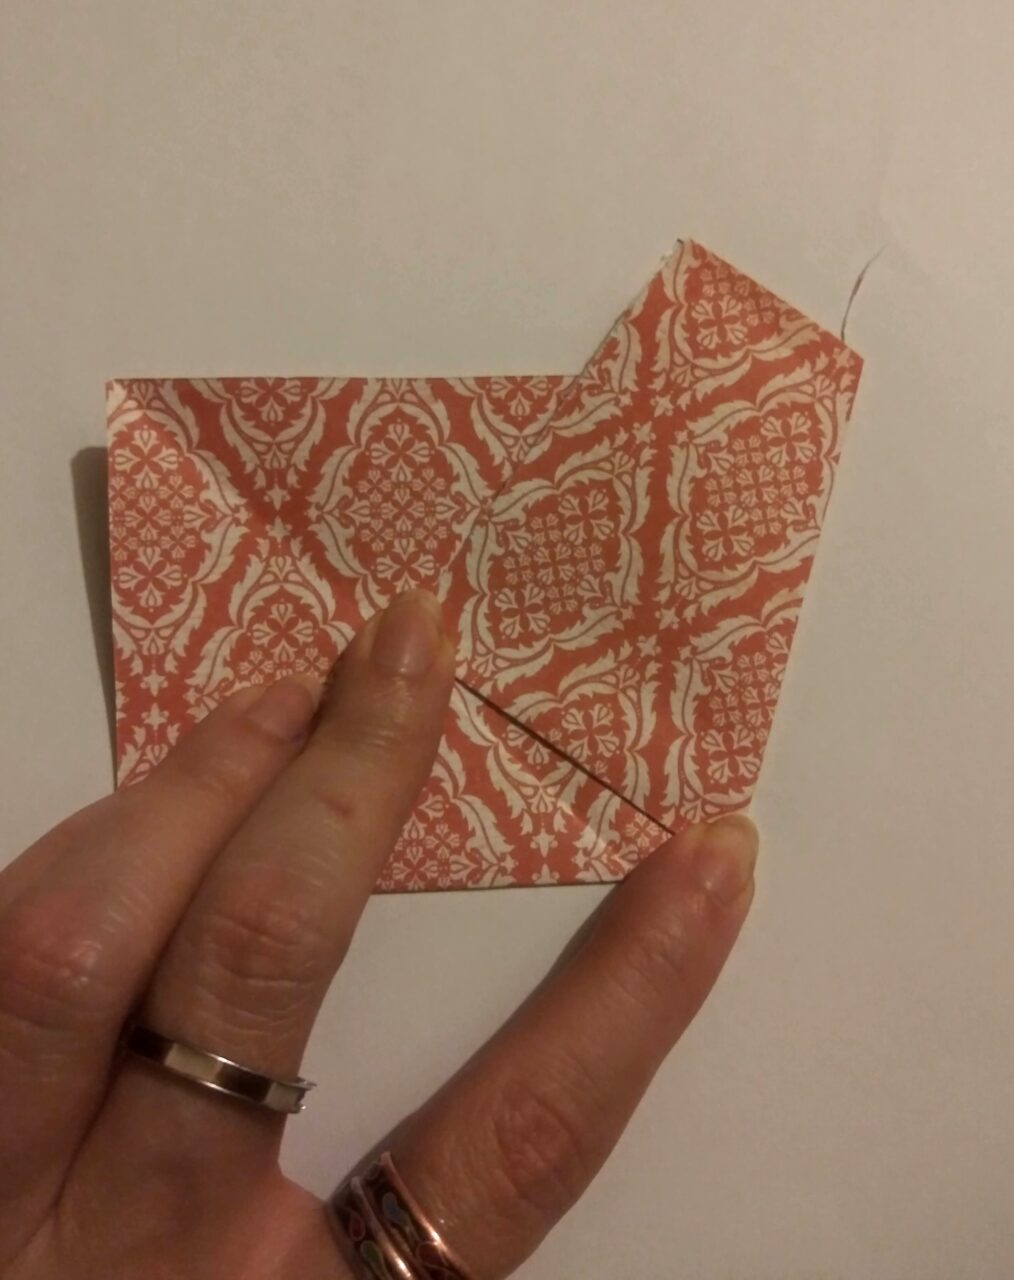
- Fold the square in half, horizontally to form a rectangle. Bring bottom corners up to the top corners and crease your paper.
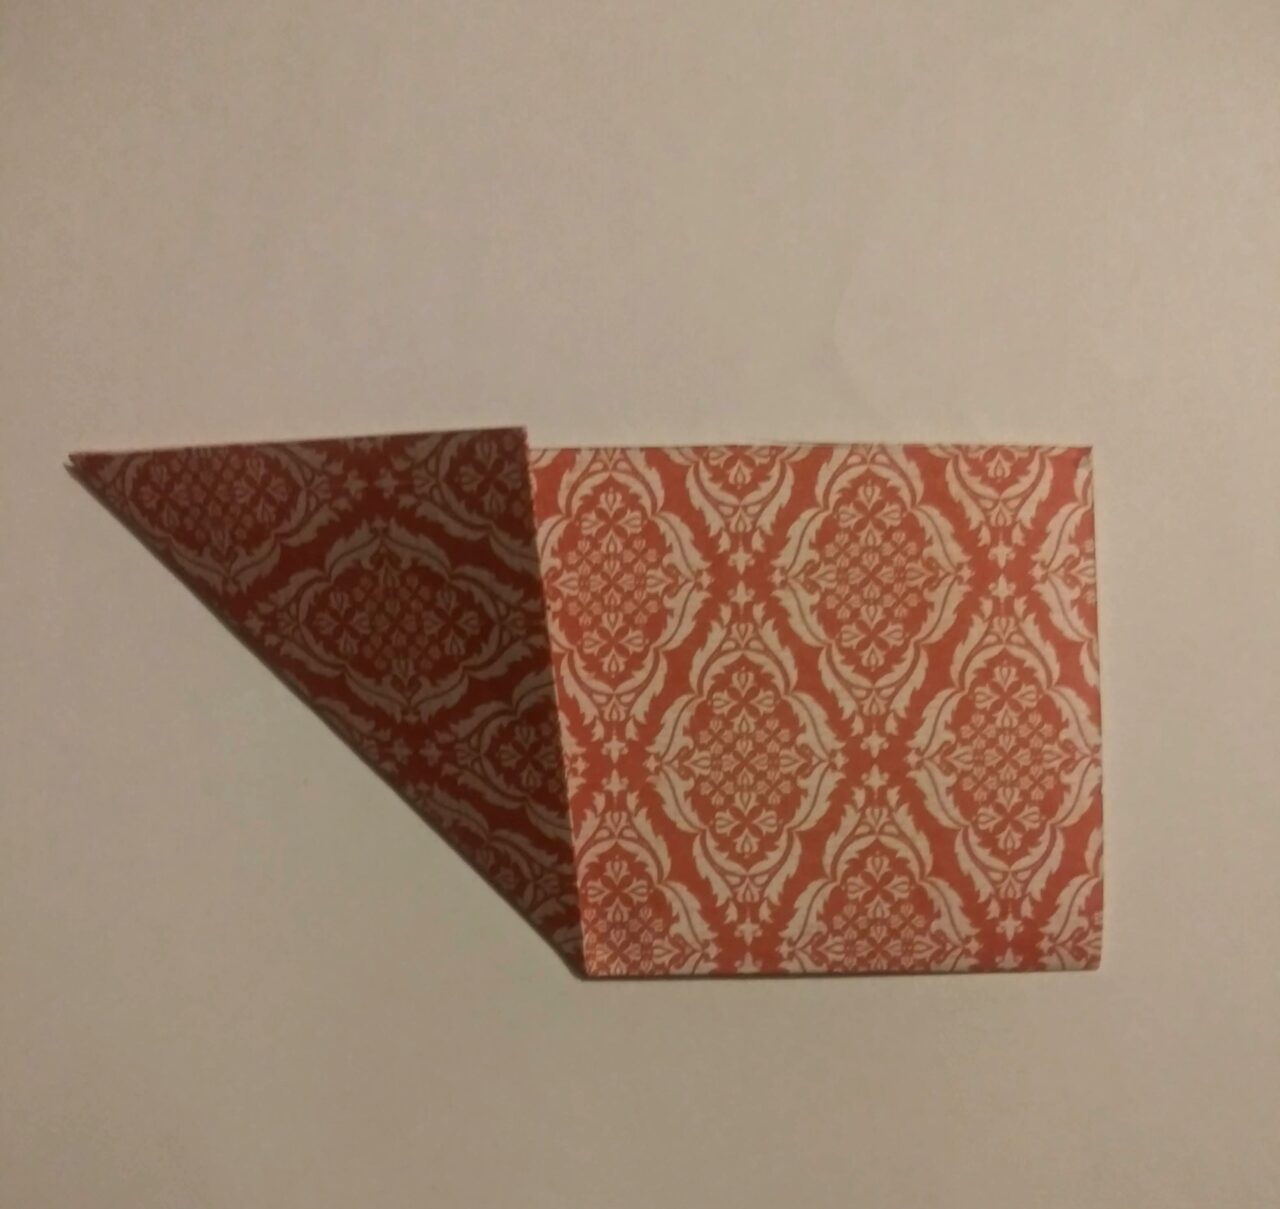
- Fold the lower left corner of the rectangle shape up to the opposite, top right corner, then unfold. This will leave one diagonal crease across the left side of the rectangle.
- Now fold the upper left corner of the rectangle shape up to the opposite, bottom right corner, then unfold. This will create another diagonal crease across the right side of the rectangle. This will leave you with an “X” shaped crease in the paper.
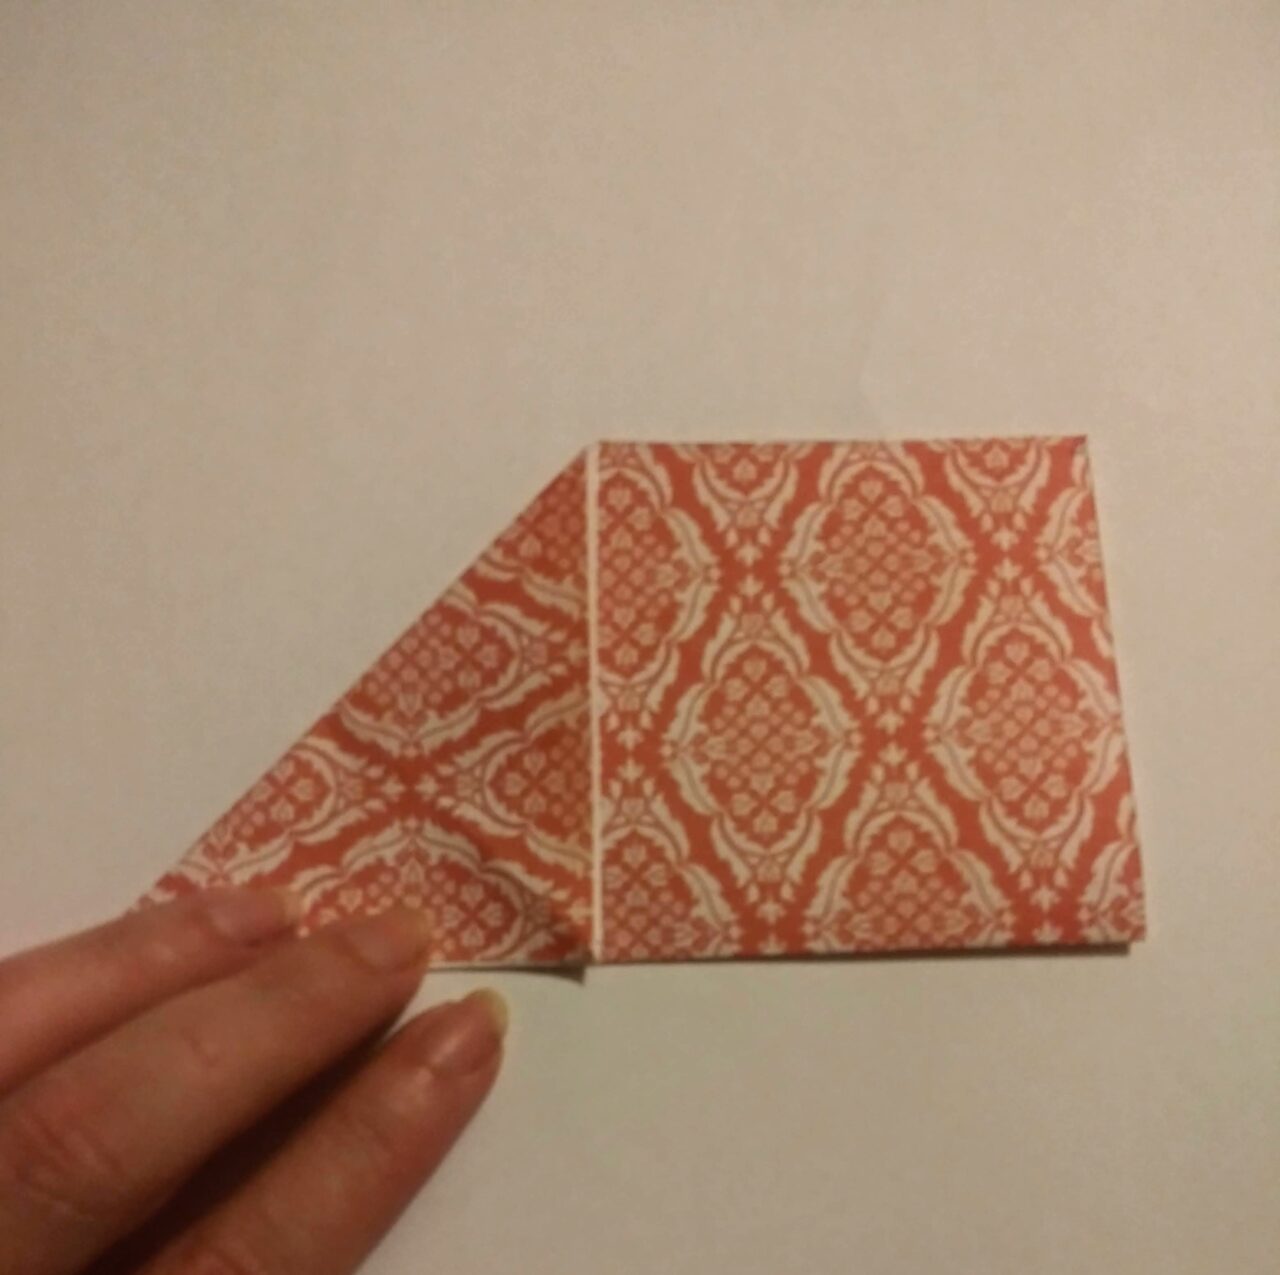
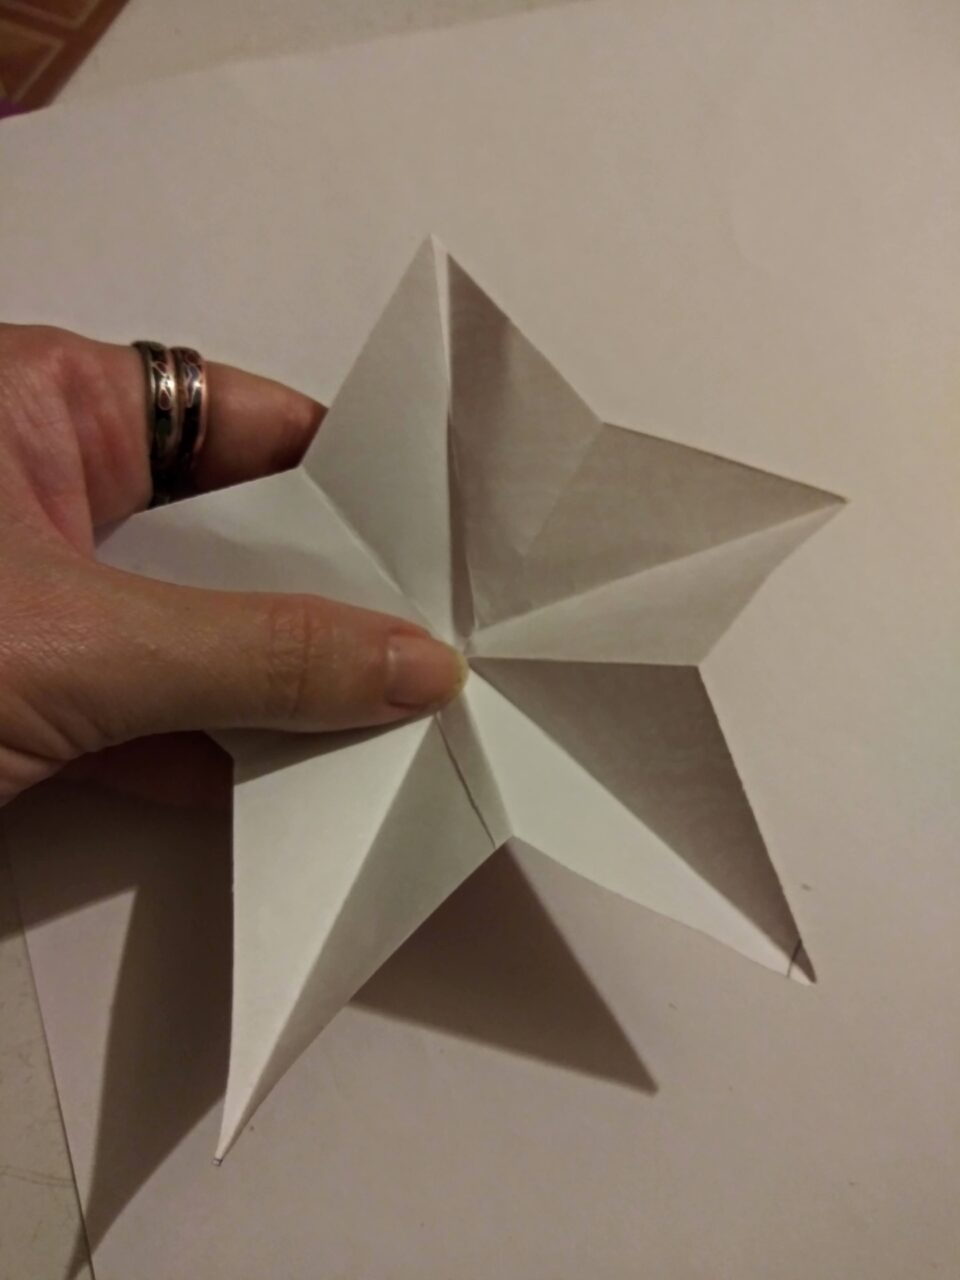
- Fold the lower left right corner up to the center point of the “X” crease, and leave folded.
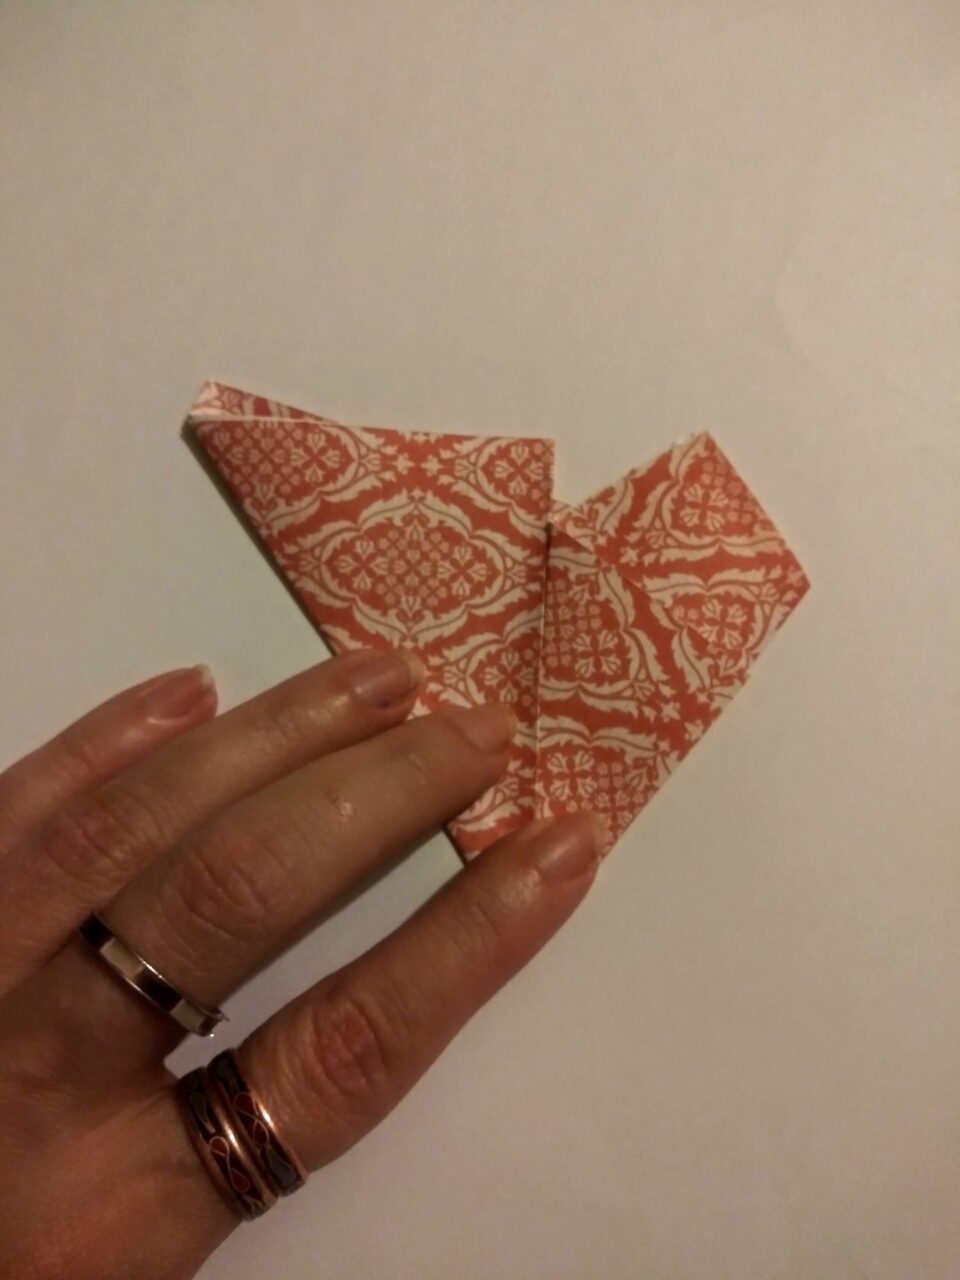
- Fold out to the opposite corner to form a “kite” shape.
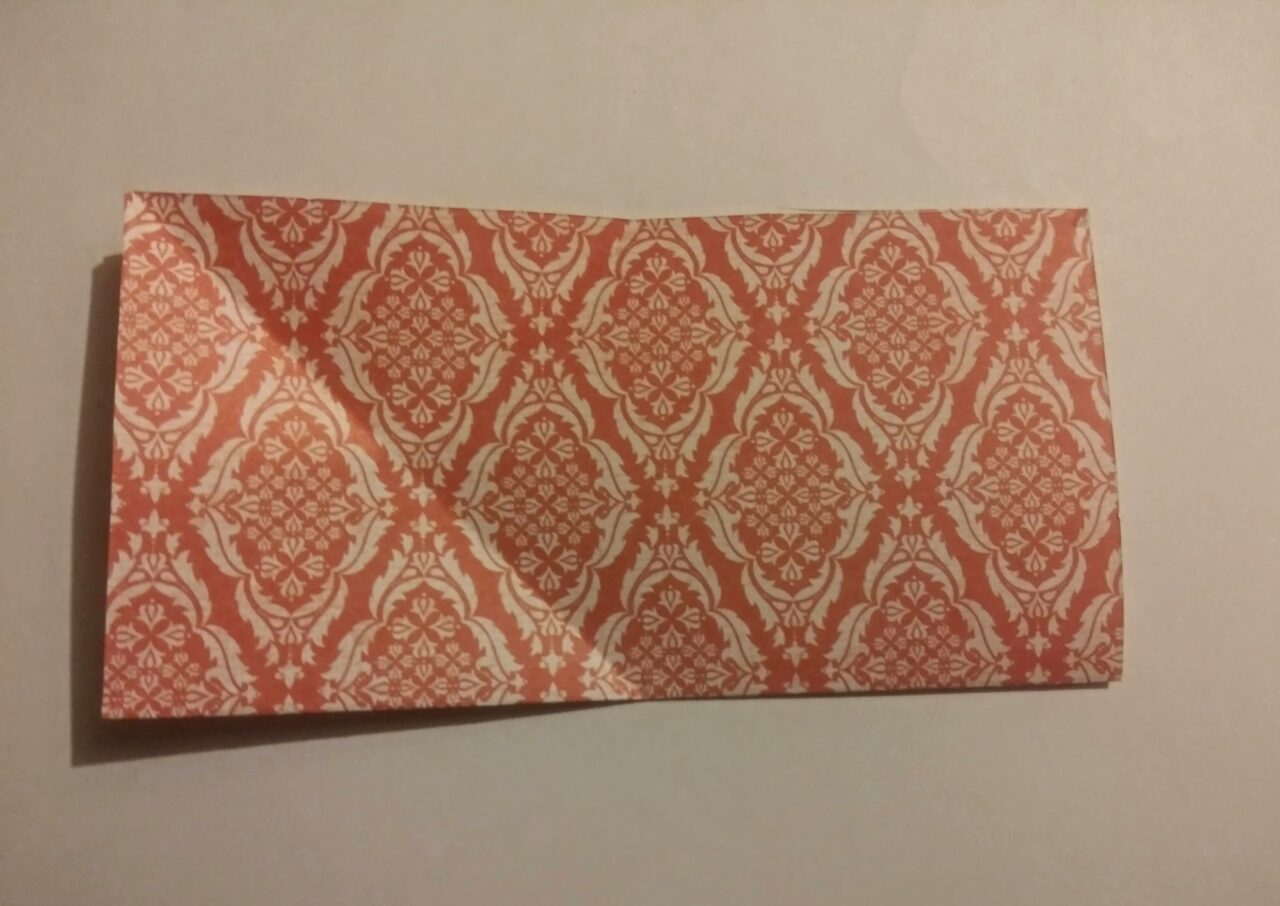
- Bring the lower left hand side up and across to meet the left side of the “kite” shape.
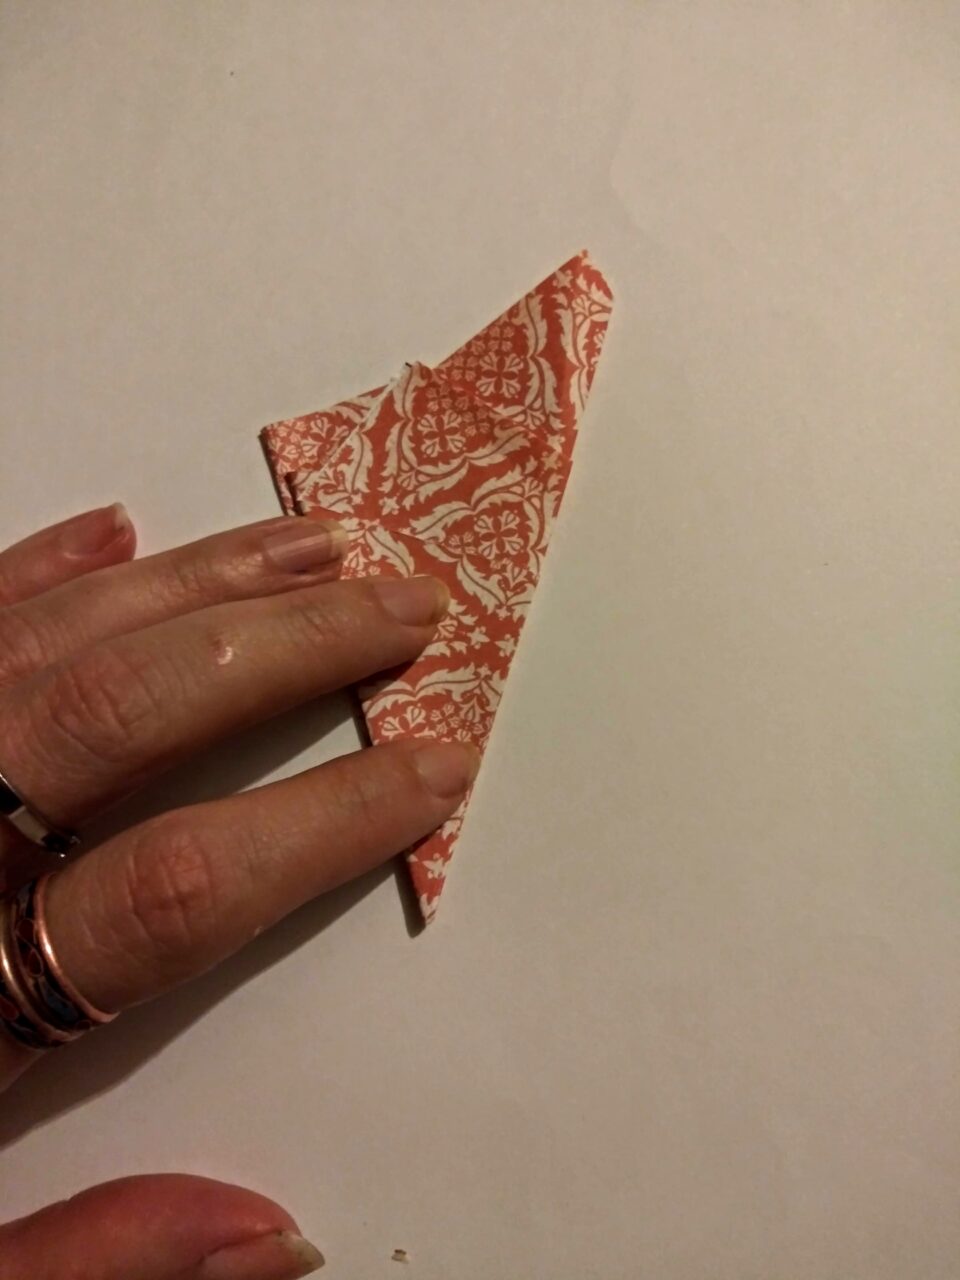
- Fold the whole left hand side behind the “kite” shape. This will result in the final fold and creation of a “handkerchief” shape.
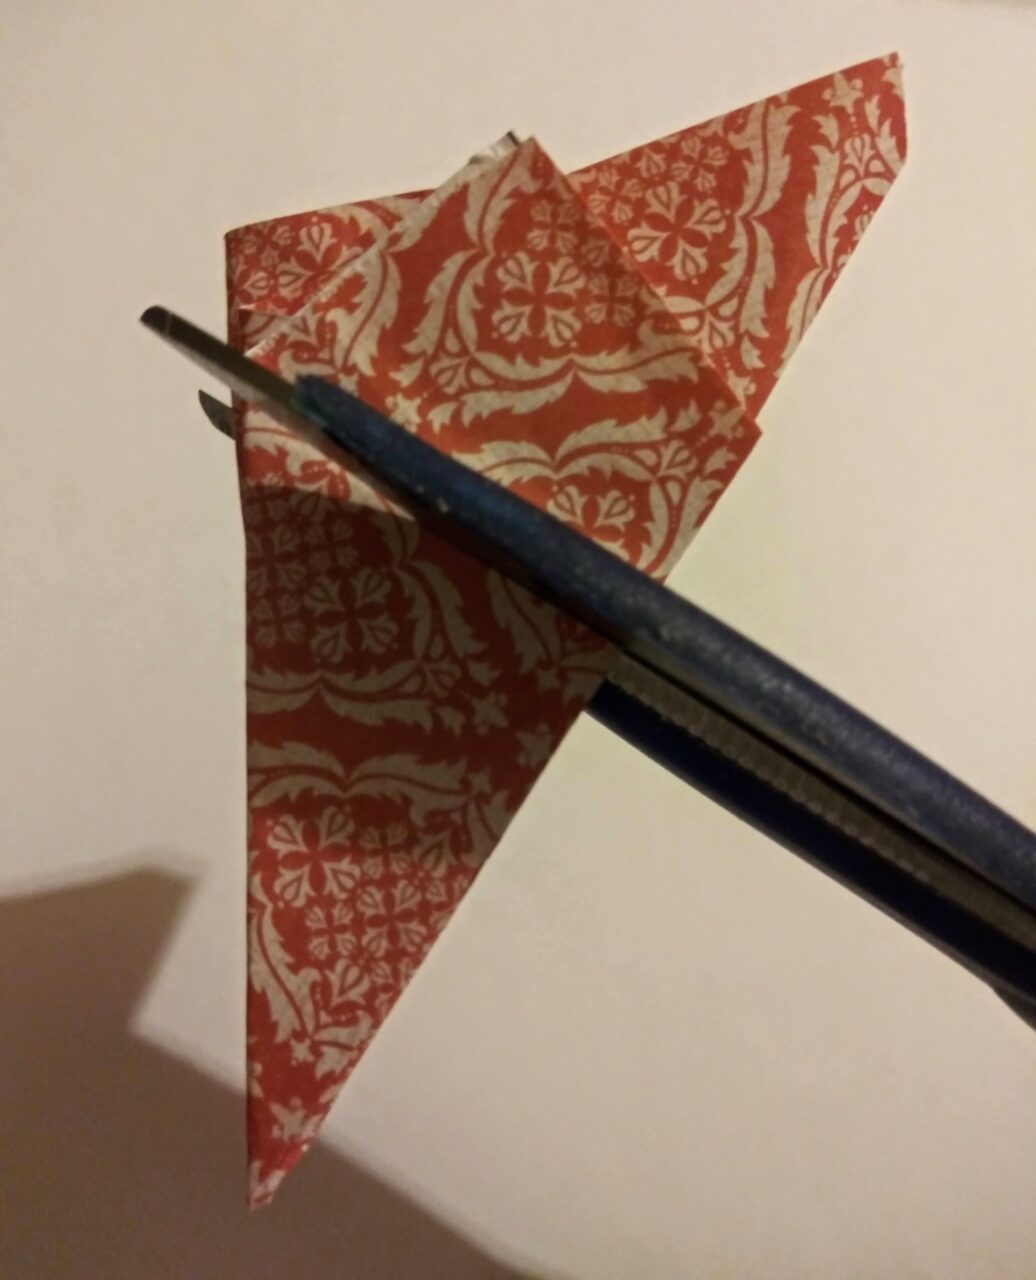
- Next, grab your scissors. Place your scissors so that they diagonally point toward the left-hand point of the triangle. Cut along this diagonal to transform your triangle into the “handkerchief” shape.
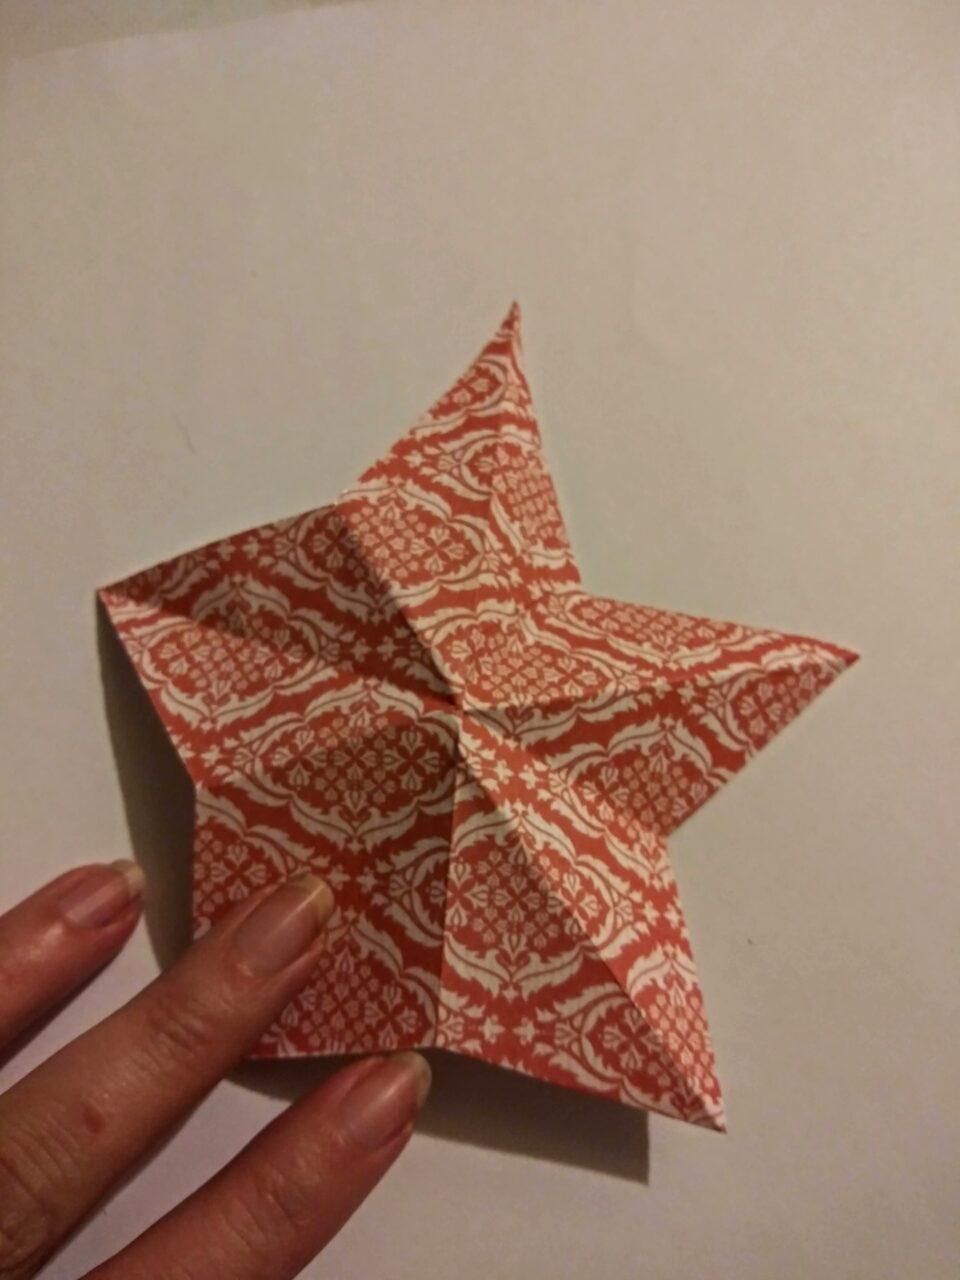
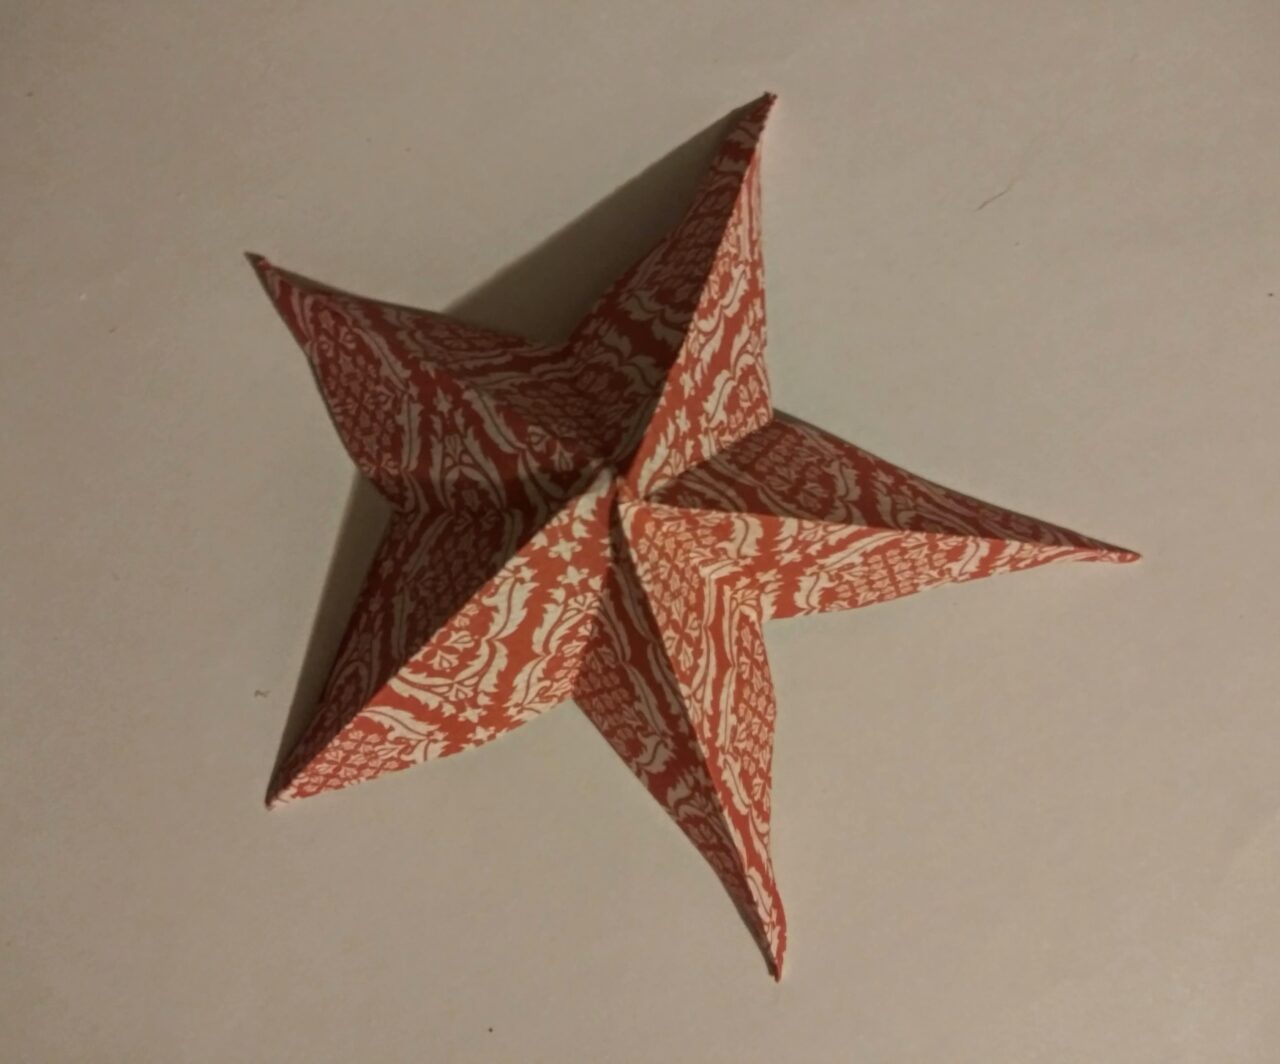
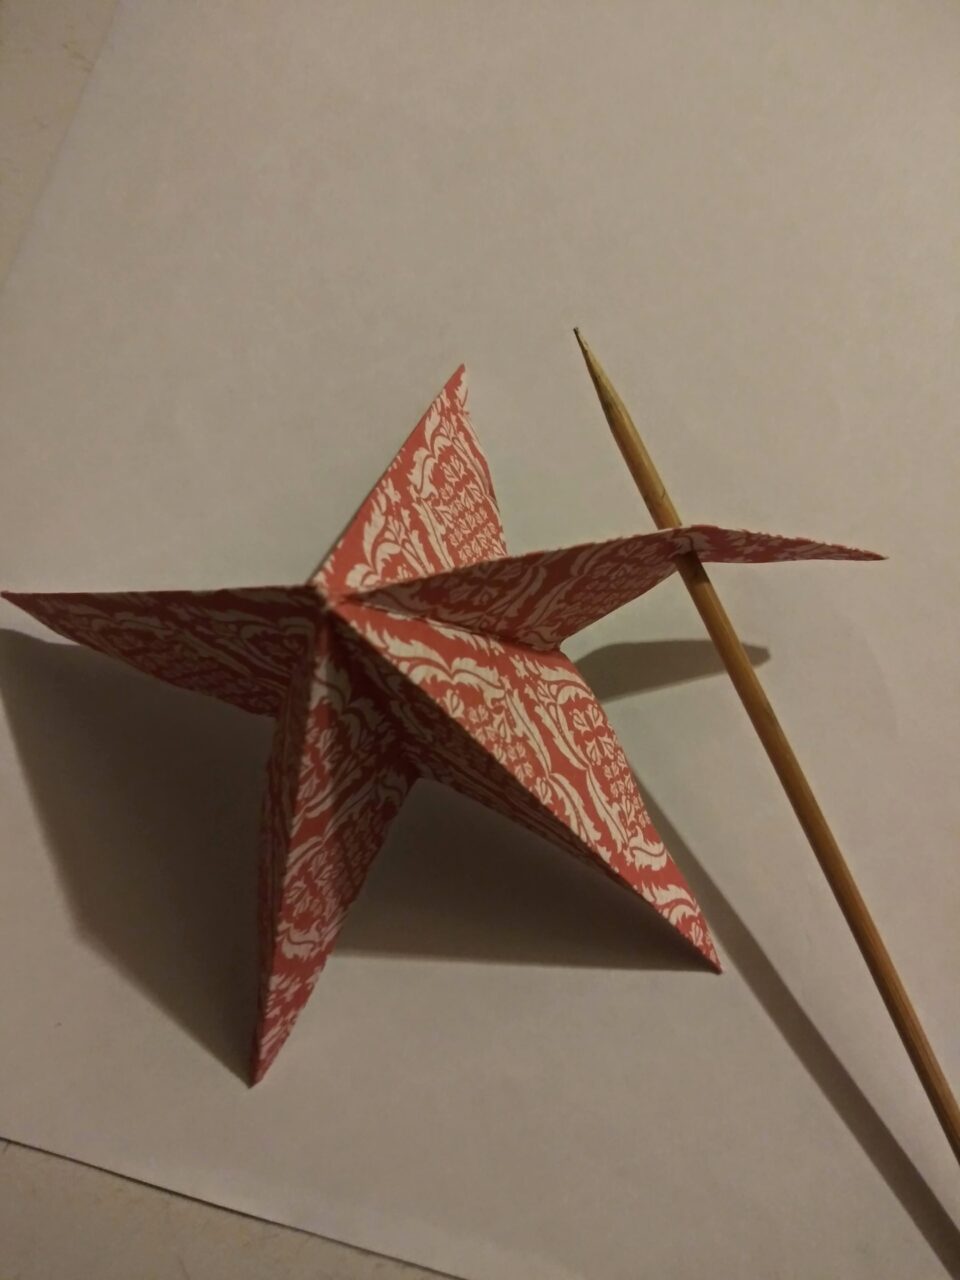
- Unfold to reveal your rough star shape.
- Now, you are going to reinforce the folds that you made by creasing the folds in the middle of each of the five star points, on the side of the star facing towards you. This will emphasize the 3-dimensional star shape.
- Next, flip your star over. Now, crease the folds facing toward you on each side of the five points of the star (just like you did during Step 11 with the middle of the points on the front side of the star).
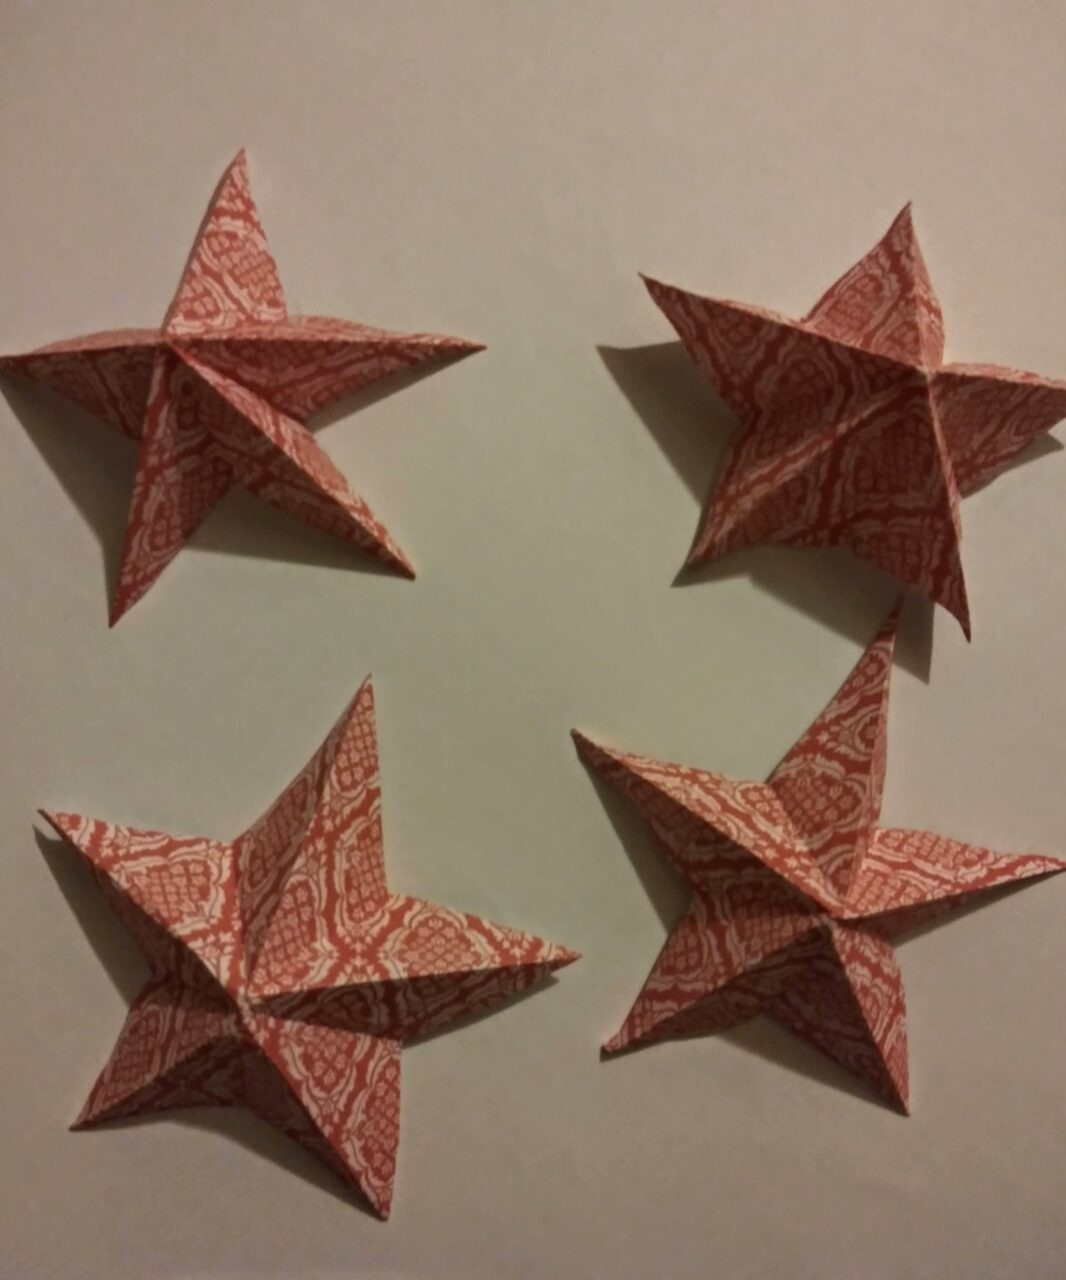
- Repeat all steps until you make multiple stars for your banner.
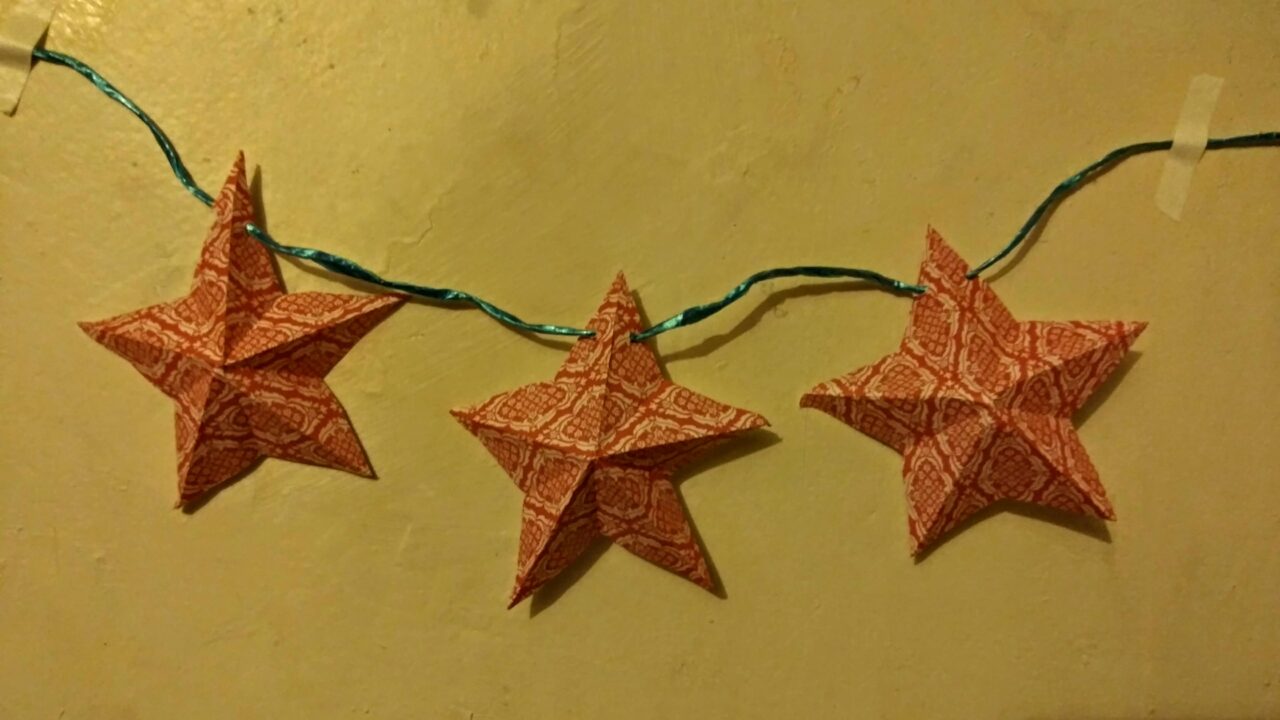
Part 2: String the Stars to Create a Banner
- Choose one of your star’s five points to be the top point of your star. Next, make two holes a few centimeters wide into the top point of your star.
- String your stars together by placing twine, string, or ribbon through the holes. You can also string them together using lights, too. Finally, use tape to hang up your new banner!
Learn More:
Video Instructions: